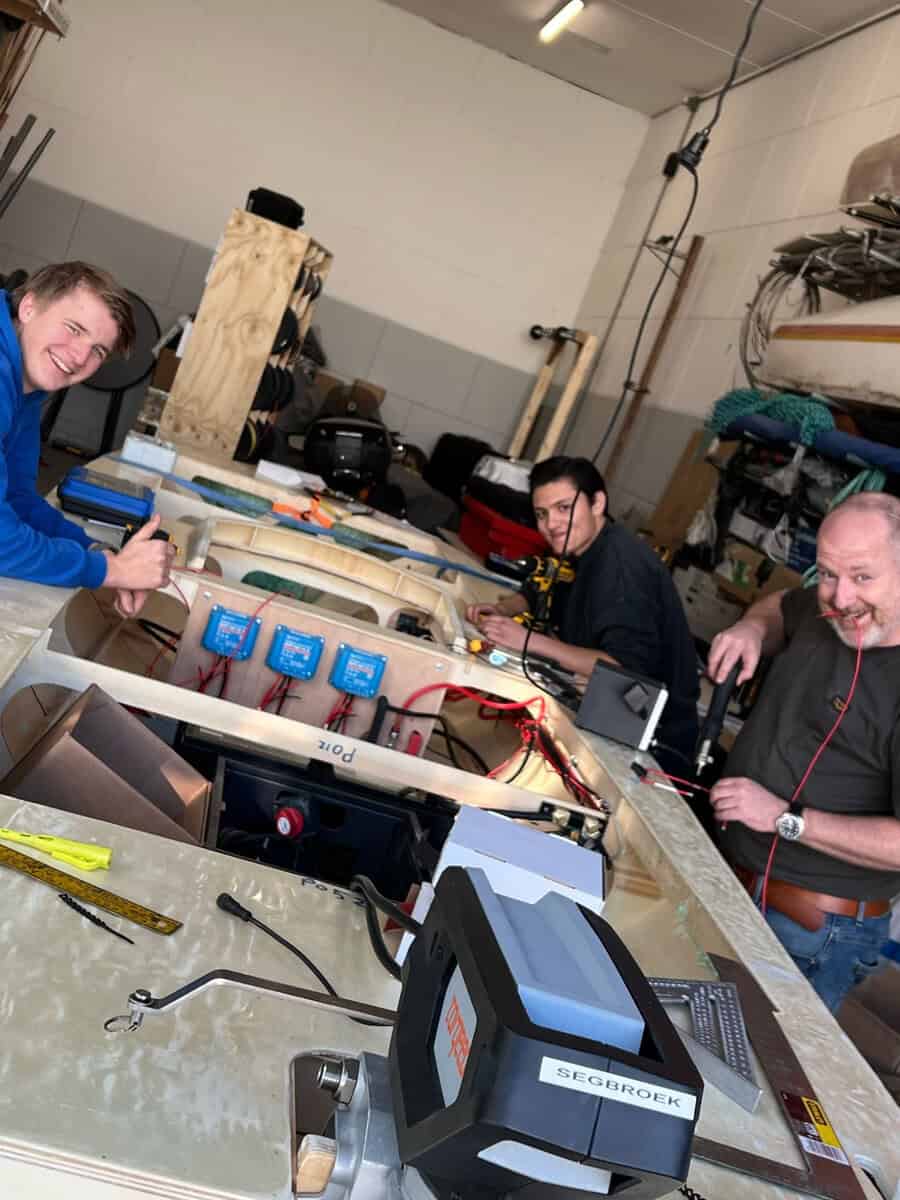
This is episode 11 of Peter Volken Smidt's conversion report. While episode 10 ended with a painted engine compartment, that problem has now been resolved. With some leftover DD paint from another project, I'm waiting for a day with a sunny temperature of around 9 degrees Celsius. Armed with an electric heater, I take the plunge and paint the engine compartment. Since the compartment is completely sealed and the heater can easily reach 15 degrees Celsius, this seems like a good time to paint, logically speaking. And yes, it works. The temperature is fine, and the DD paint is curing nicely. Time to install the peripherals, such as the engine management computer, the charger, the throttle, and the dashboard.
Since I've had the engine for a while now and have already fully connected it, the numbered cables make hanging the equipment a breeze. An added benefit of the newly paneled engine compartment is the extra sturdy wooden walls, which allow everything to be hung securely.
For the dashboard, a square hole needs to be cut in the new fiberglass skin I created when removing the old one. With the multi-tool, this job isn't too complicated either. Unfortunately, the new fiberglass in the fairing hasn't been painted yet, so the dashboard, power button, and throttle are still temporarily in place. When spring arrives, this part can be painted as well.
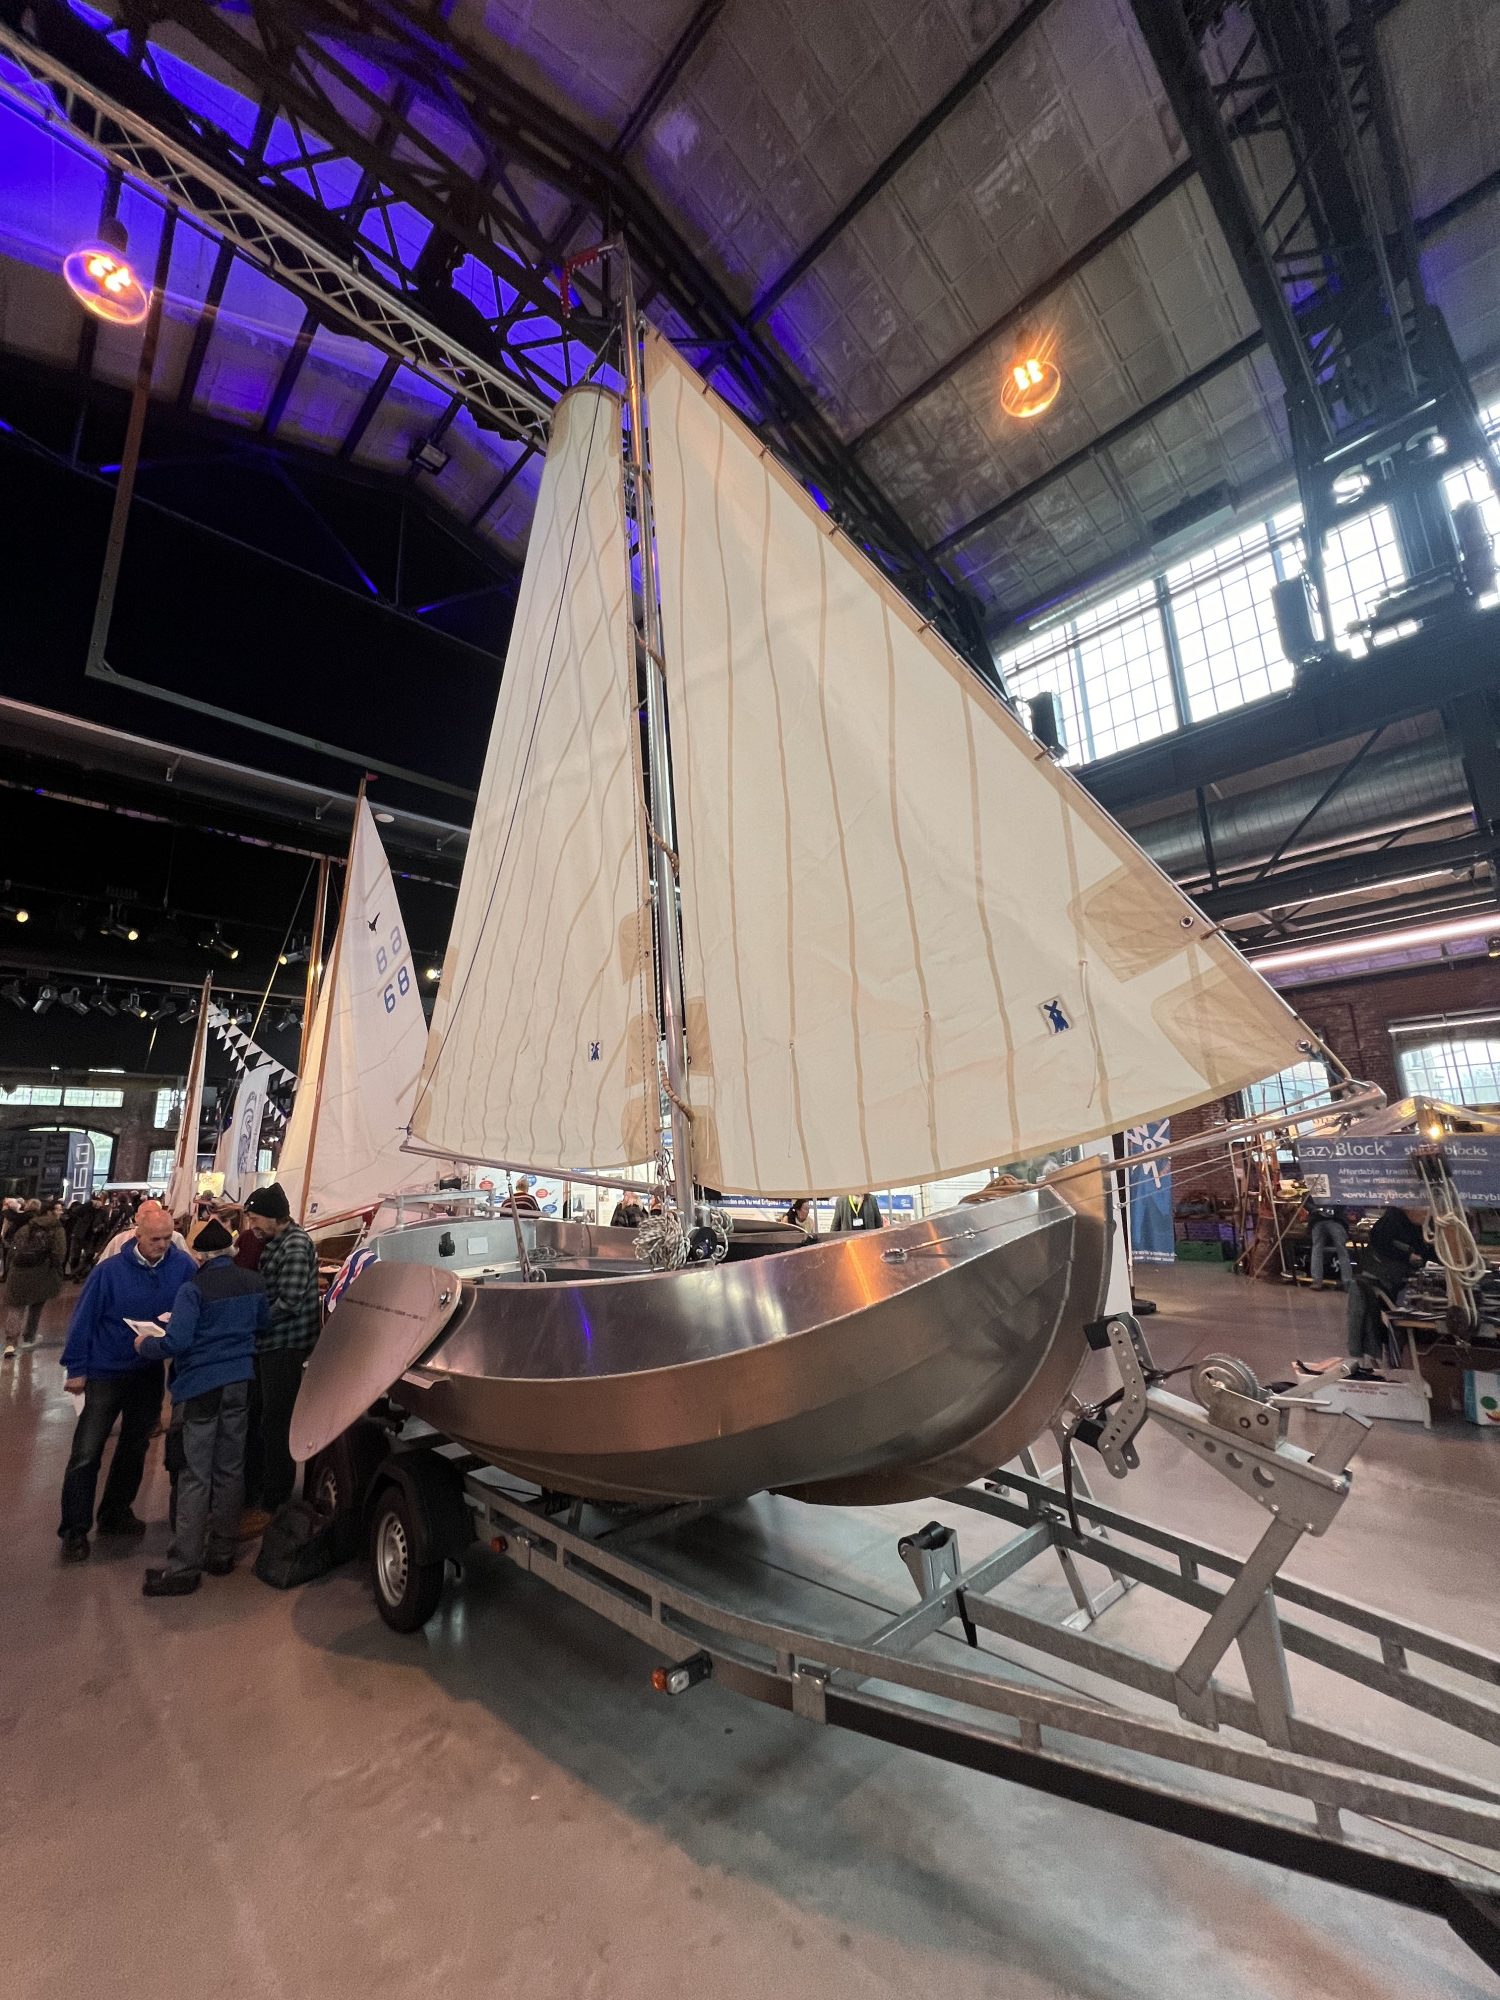
Everything's up and running, the heavy-duty battery is in place, but there's still one thing left to do. The pod motor still needs to be sealed and tightened. Since everything's going so smoothly so far, I'll do that too. In the harbor, I'll have a few extra eyes to see how the motor and sealant are attached to the hull.
Using a special nautical sealant suitable for all waterways, I seal the entire base of the motor and then evenly tighten the nuts on the threaded rods from the inside. Slowly but surely, the motor pulls itself against the hull of the boat. Gradually, I also see the sealant being pushed outwards slightly on all sides. A good sign, as it ensures complete coverage.
Once the nuts are tight, I'll finally seal the edge around the pod motor base with caulk and finish it evenly. The result is sleek and hopefully watertight. But that will become clear in one of the upcoming steps when the boat is lifted into the water.
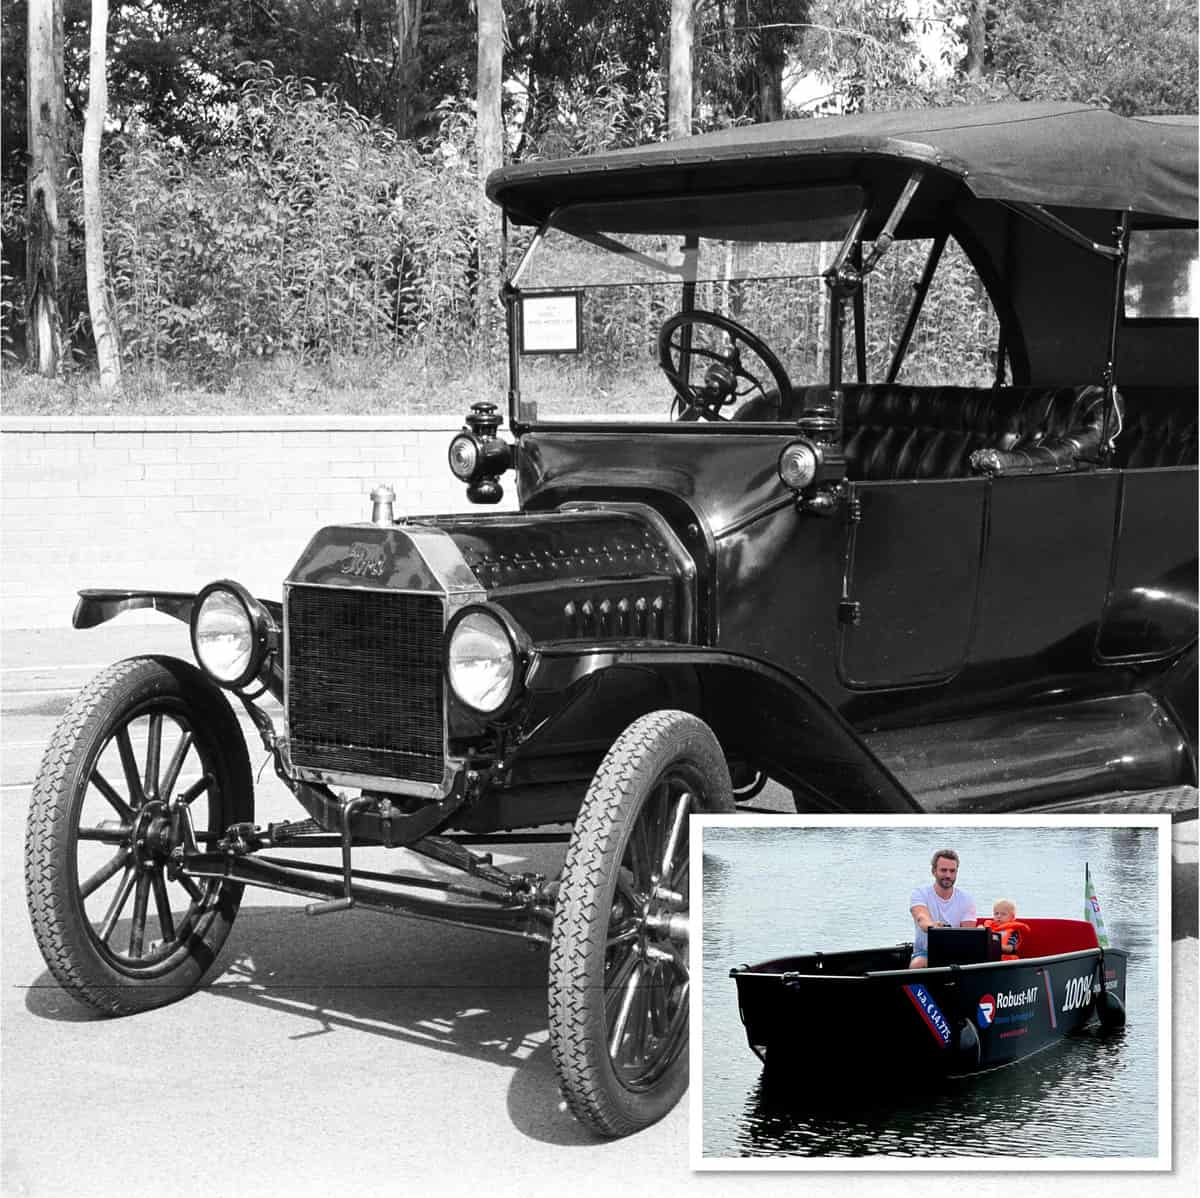
There's one more thing left in this step, and that's testing the engine. Of course, I can't wait. I start the engine, turn on the dashboard, flip the main switch, and carefully begin to accelerate. The sound of a humming electric motor is music to my ears. It works... Now, it's time for some water.