Now that the first layer of armor coating has been applied, I no longer intend to modify the base for the pod motor. And although I feel like I've done a precise job, I want to be sure that this feeling is based on something.
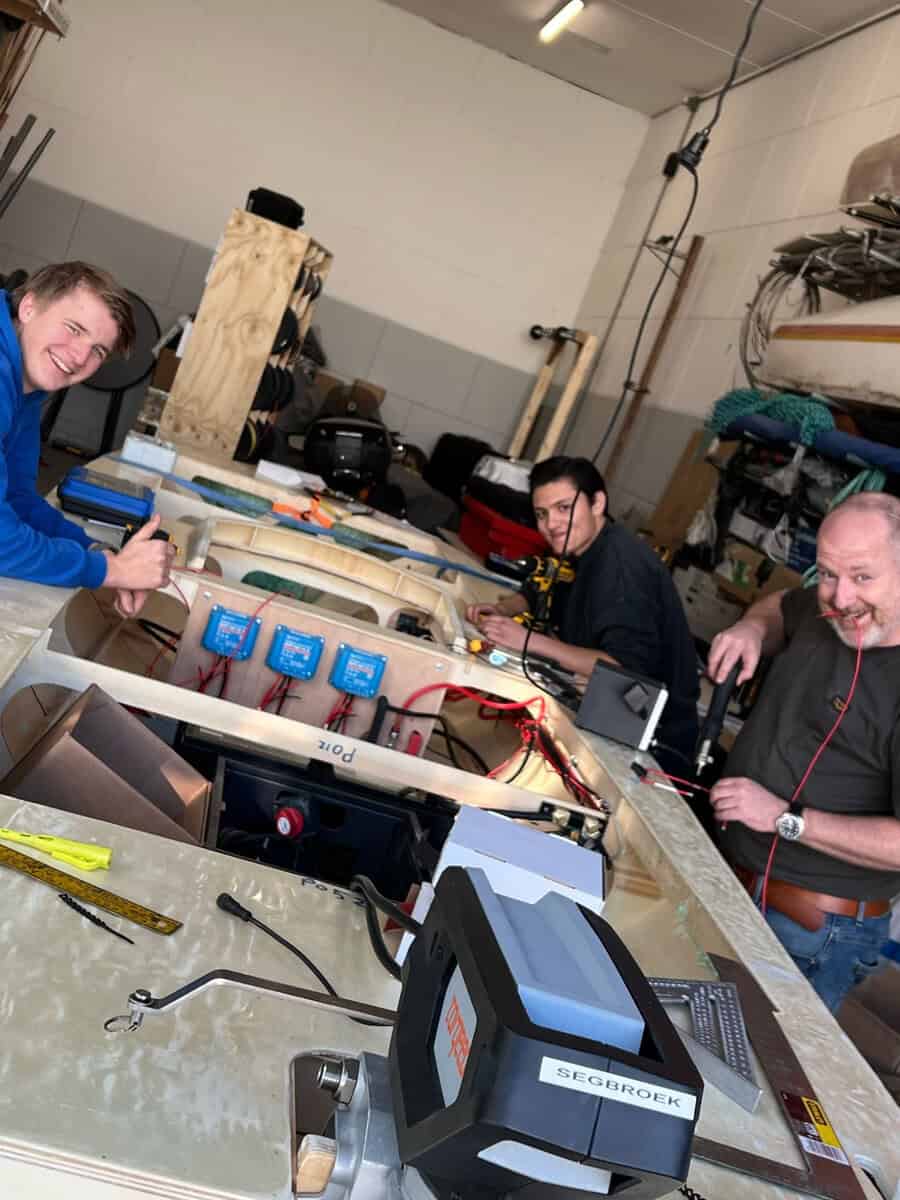
Furthermore, in parallel with the work outside, we also want to continue working in the engine room so that all peripheral equipment can be hung there later.
The pod motor is mounted underneath the boat. Three threaded rods extend from the motor and must be bolted through the hull inside the engine compartment. A nylon block, shaped like the pod on the outside, is mounted inside the boat to transfer the power. In addition to the three threaded rods, the data and power cables also need to be routed inside.
New holes in the hull
I use the nylon block as a template so I can drill the holes in the correct positions, perpendicular to the outside. First, I carefully measure the centerline of the boat so I can start drilling the first hole through the hull. This is a bit of a nerve-wracking moment, as closing the hull is a lot of work, and drilling new holes feels a bit awkward.
The first hole is in place, and I'll use a long bolt to temporarily secure the template to the hull. I can now rotate the template along the hull's centerline, allowing me to accurately measure where the other two threaded rods will go. Finally, I can also drill the hole for the power cables with a hole saw. The core I've cut out looks nice and solid in cross-section, with no air gaps, so I'm confident it's a solid foundation.
Assembly of the pod
Now that the holes are drilled, I'm making my first attempt at mounting the 30-kilogram pod motor under the boat. With some help, it works quite well. However, because I pre-drilled the holes for the M10 threaded rods with a 10mm drill bit, I'm making them slightly larger. This gives me a bit more room to move. I'm making minimal adjustments to the shape of the nylon block for the inside. Fortunately, the hole locations align well with the desired position, so I can get the motor into place by tightening the bolts.
I eagerly examine the results from the bottom of the boat. The engine is securely mounted both horizontally and vertically, along the length of the boat. I hadn't expected it to turn out this well. When the engine is finally mounted, the hull and engine will naturally be sealed both inside and out to ensure a watertight seal, and with this preliminary result, that shouldn't be a problem at all.